If you are like most home owners, you’ve probably never paid much attention to your chimney crown. The chimney crown serves an important role in protecting the chimney against harsh weather, but most people don’t realize that the crown also needs to be protected. When left unprotected, a chimney crown will eventually crack and deteriorate.
What is Freeze-Thaw Damage?
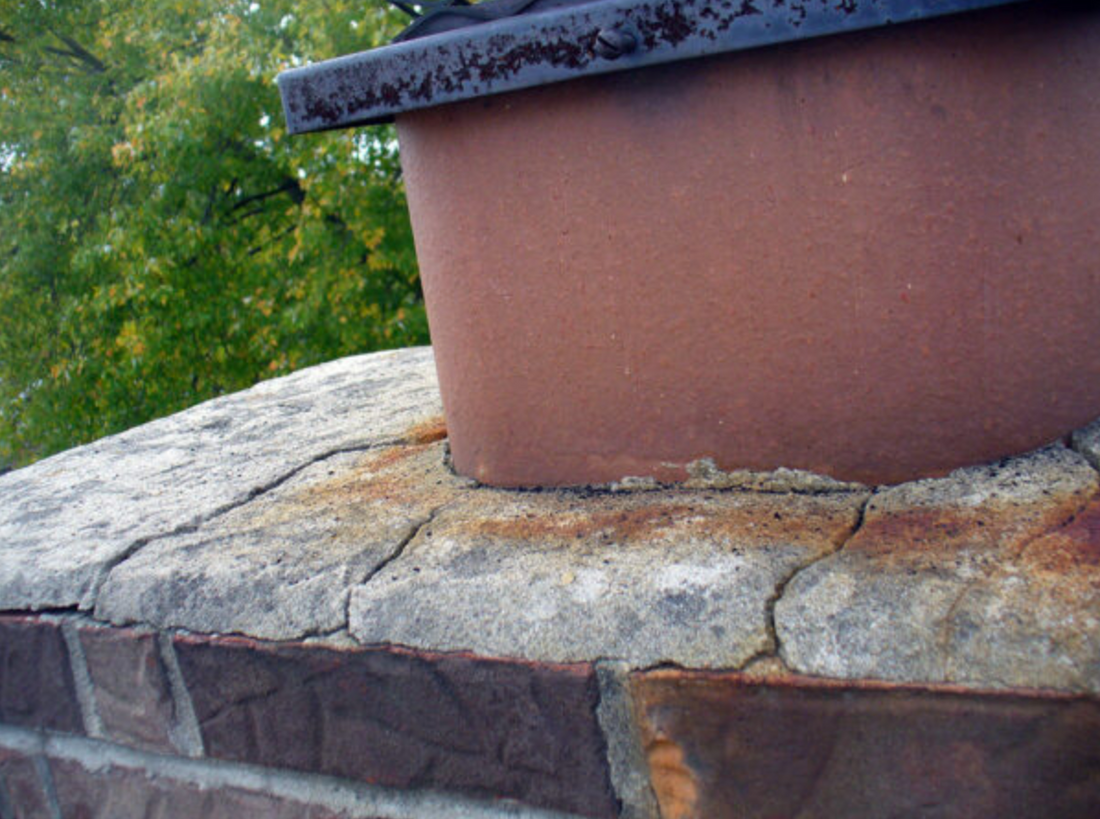
When you light a fire in your fireplace or wood stove in the winter, the chimney heats up and cools down. As temperatures drop below freezing, any water that is absorbed into your chimney crown from rainfall will freeze and thaw, causing expansion and contraction. This process eventually causes your crown to crack and deteriorate, which is why it is important to prevent water from absorbing into the chimney crown in the first place. Depending on the severity of damage, the crown will either need to be repaired or totally replaced. Replacement costs often run in the thousands of dollars and should be performed by a qualified chimney sweep (visit
csia.org for a qualified chimney sweep in your area). If the cracks aren’t too severe to warrant total replacement, the best way to to perform a
chimney crown repair is with an elastomeric product that will remain flexible over time.
Use an Elastomeric Coating
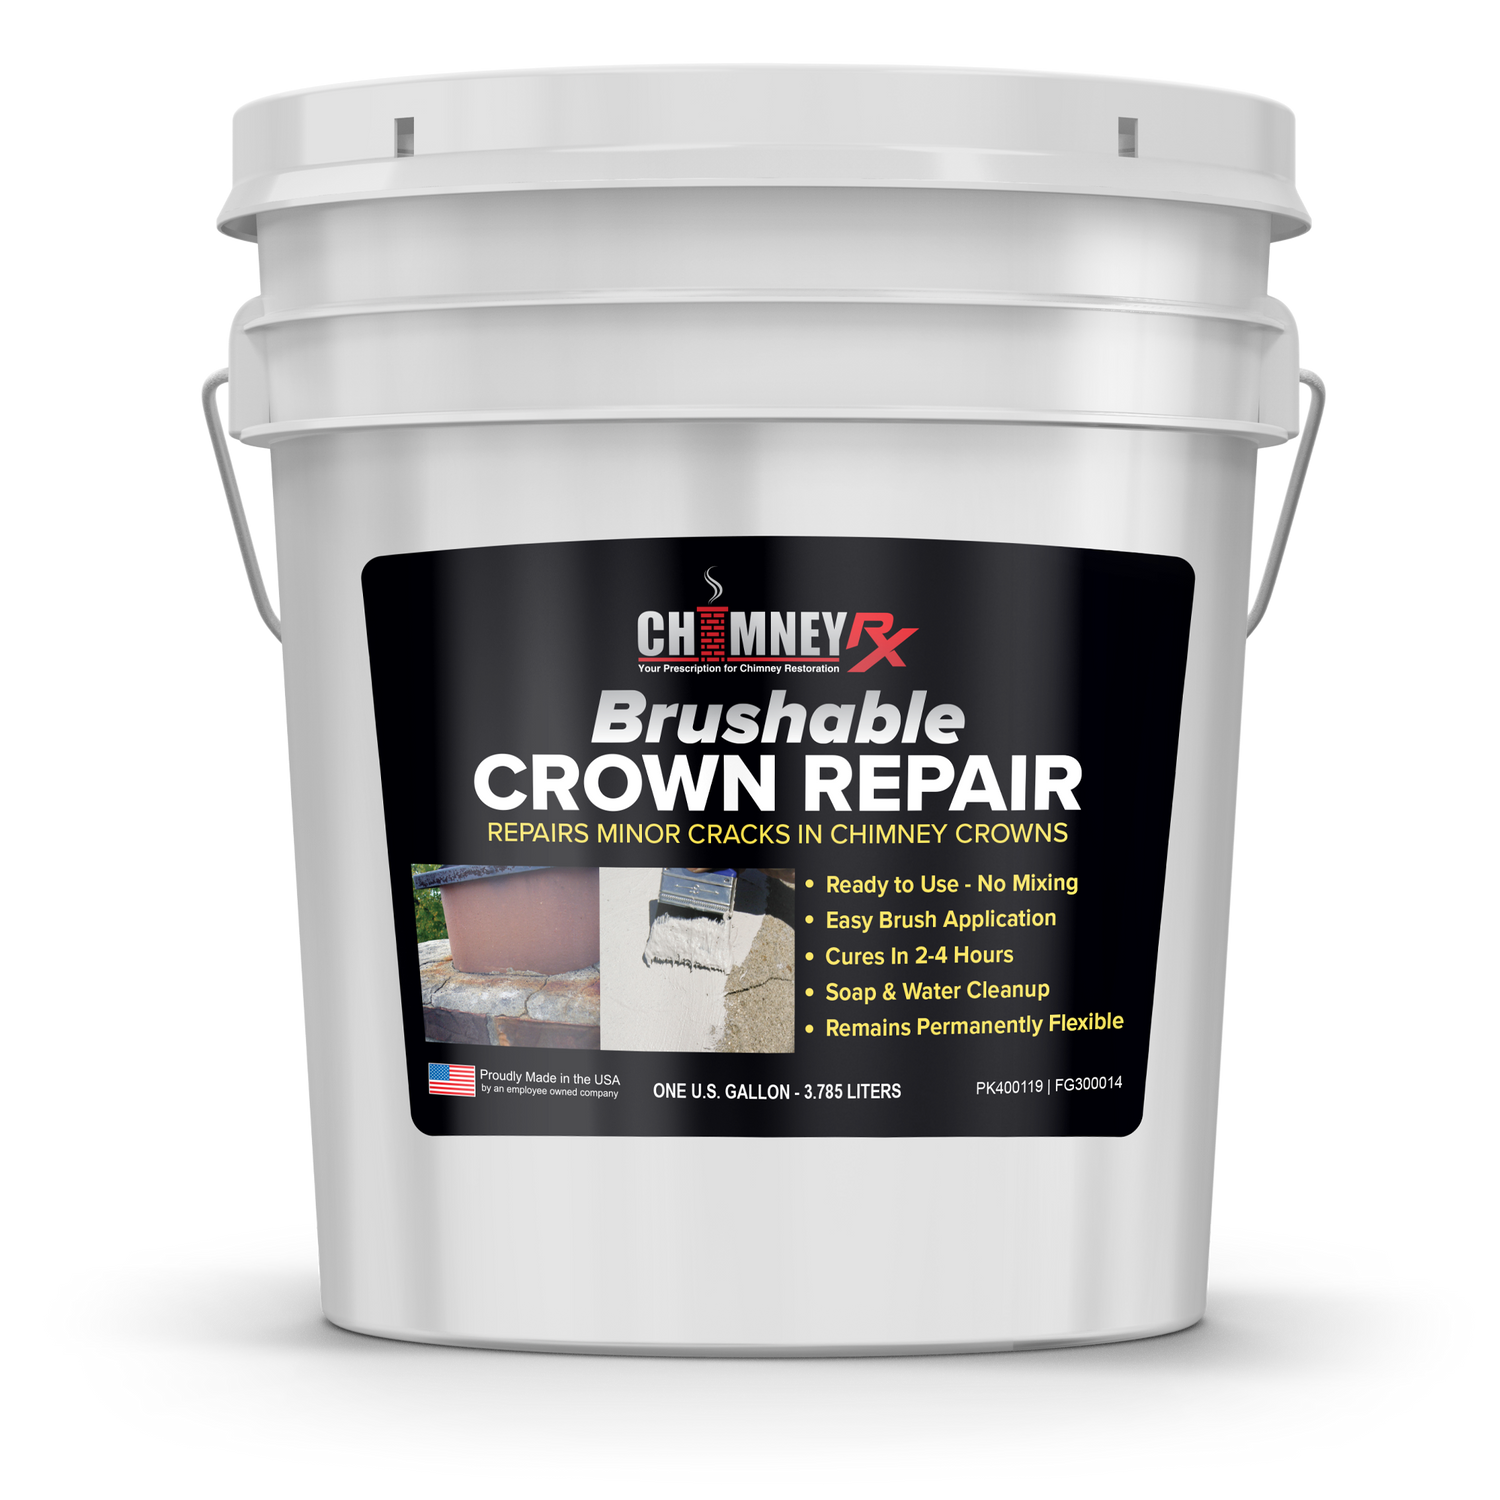
ChimneyRx Brushable Crown Repair can be brushed on over the entire crown surface to fill in the cracks to prevent further cracking and to waterproof the crown for protection against the elements. The first step is to take a wire brush to the entire surface of the crown. This will remove any loose particles, mold, or debris that may interfere with the adhesion of the product. Next, take some duct tape and apply it around the perimeter of the flue tile about 1″ above the crown. Apply another line of duct tape around the perimeter of the crown base. This will give you a clean edge after you are finished. If there are any cracks on the crown, use a high quality, exterior silicone or acrylic caulk to fill in any cracks. Allow this to set for 10 or 15 minutes. Don’t worry if it’s not totally cured before moving on to the next step as the caulk will cure beneath the surface. Take a paint brush (a cheap throw-away brush like the one pictured on the left works well) and apply a thin, first coat of ChimneyRx Brushable Crown Repair to the entire surface of the crown. Allow it to set for about five minutes so that it becomes tacky. Next, apply a second, heavier coat. If you’re making this chimney crown repair in hot weather, it may start to set too quickly and become difficult to smooth out. If this happens, you can mist the surface lightly with water using a spray bottle to make the product easier to spread and a little more workable. After you’ve covered the crown with two coats and have smoothed everything out evenly, remove the duct tape and clean up your tools with soap and water. Your crown is now protected from further deterioration.
Further Reading
When dealing with chimney leaks and water penetration, remember that there are three potential problem areas: the chimney crown, the brick and mortar joints, and the flashing. Read more about
how to waterproof your chimney and prevent leaks to find out how to provide total protection for your chimney.